I've had a number of folks asking about the Cerakote application process...
Is it paint? How durable is it? How is it applied? etc..
So I thought I'd go through a very basic description of the process for y'all.
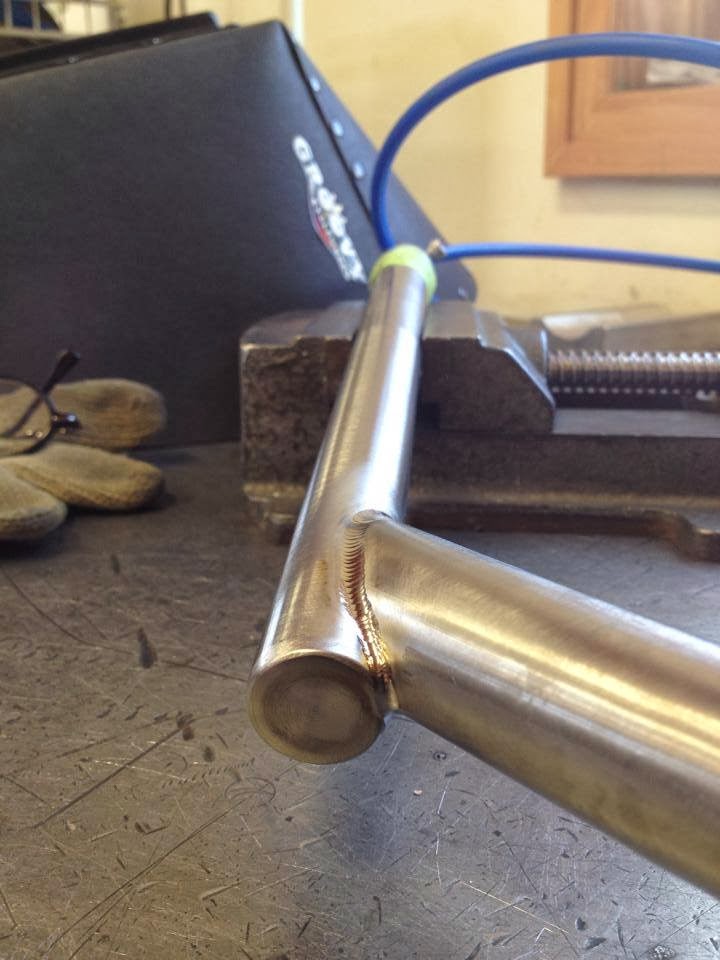
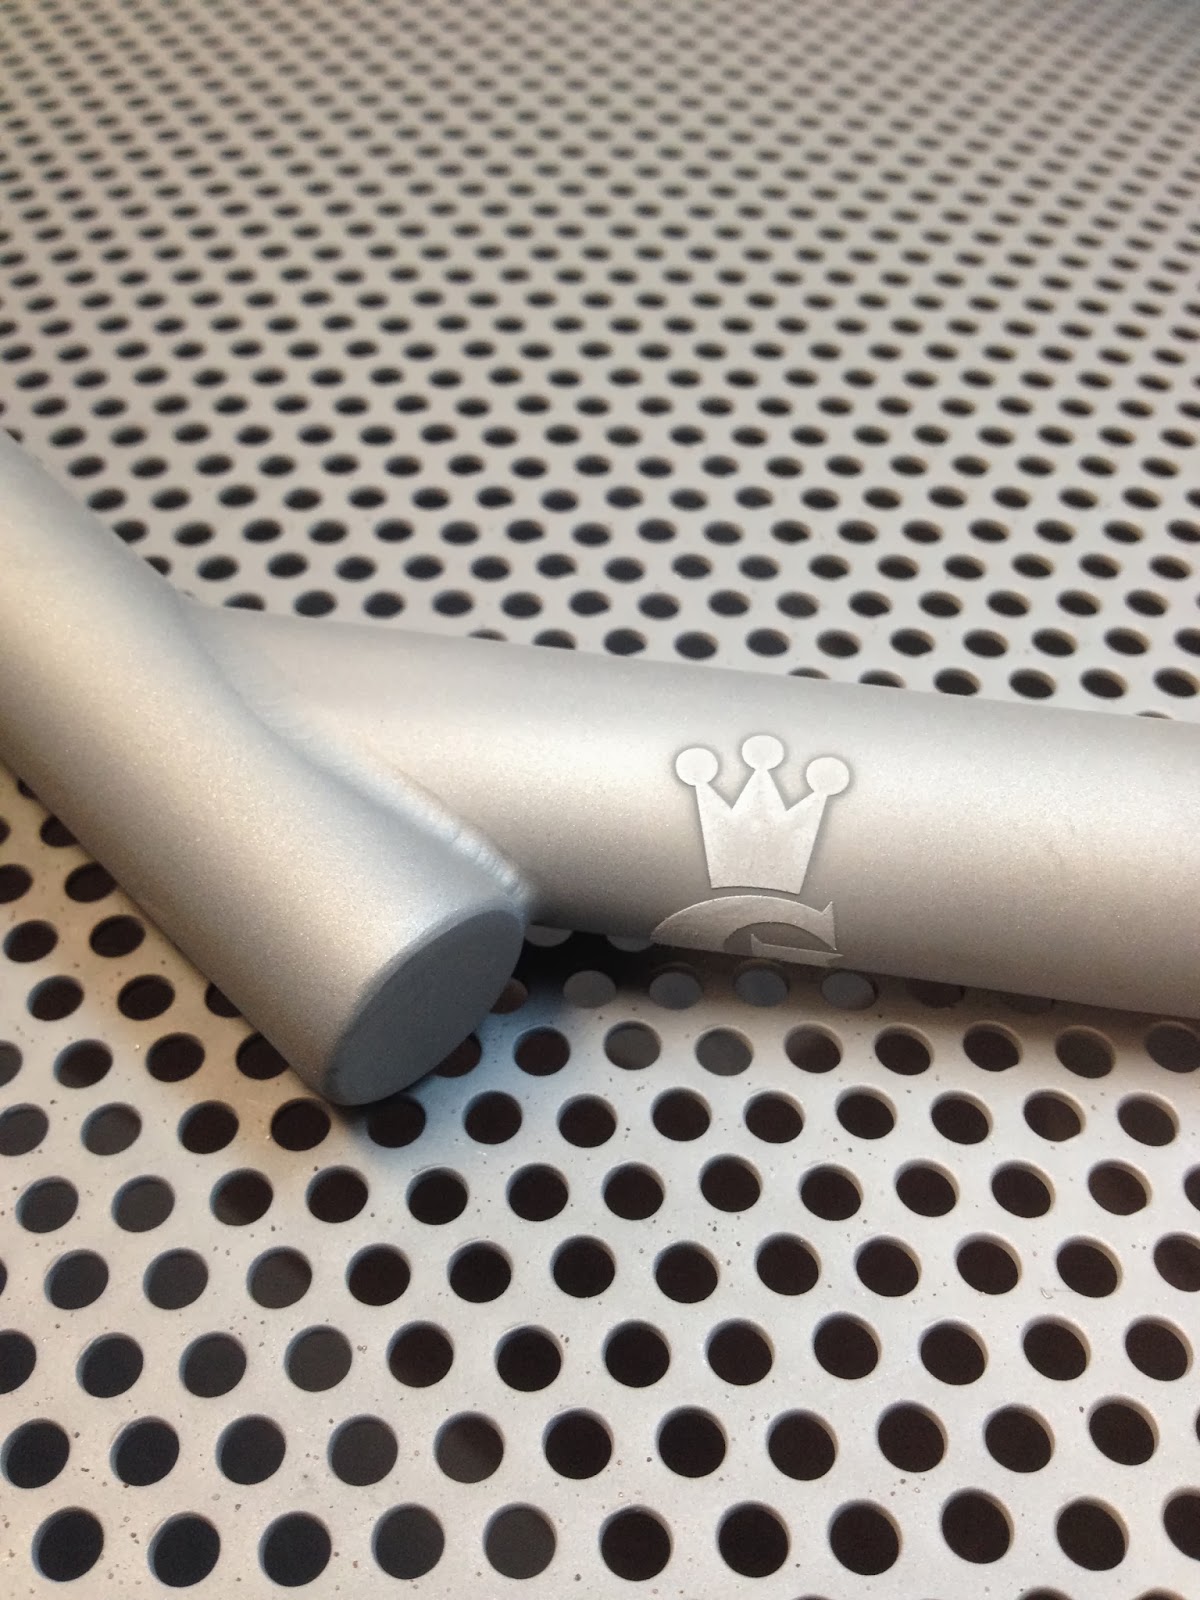
We'll follow a custom ti bar I did for Corrianne through the steps of the process.
First off, the titanium bar is fabricated through it's final stage, welding. To this point the material has been cut, machined, cleaned with soap and water, mechanically scrubbed with stainless brushes and scotchbrite, put through the ultrasonic, final dip in acetone and welded.
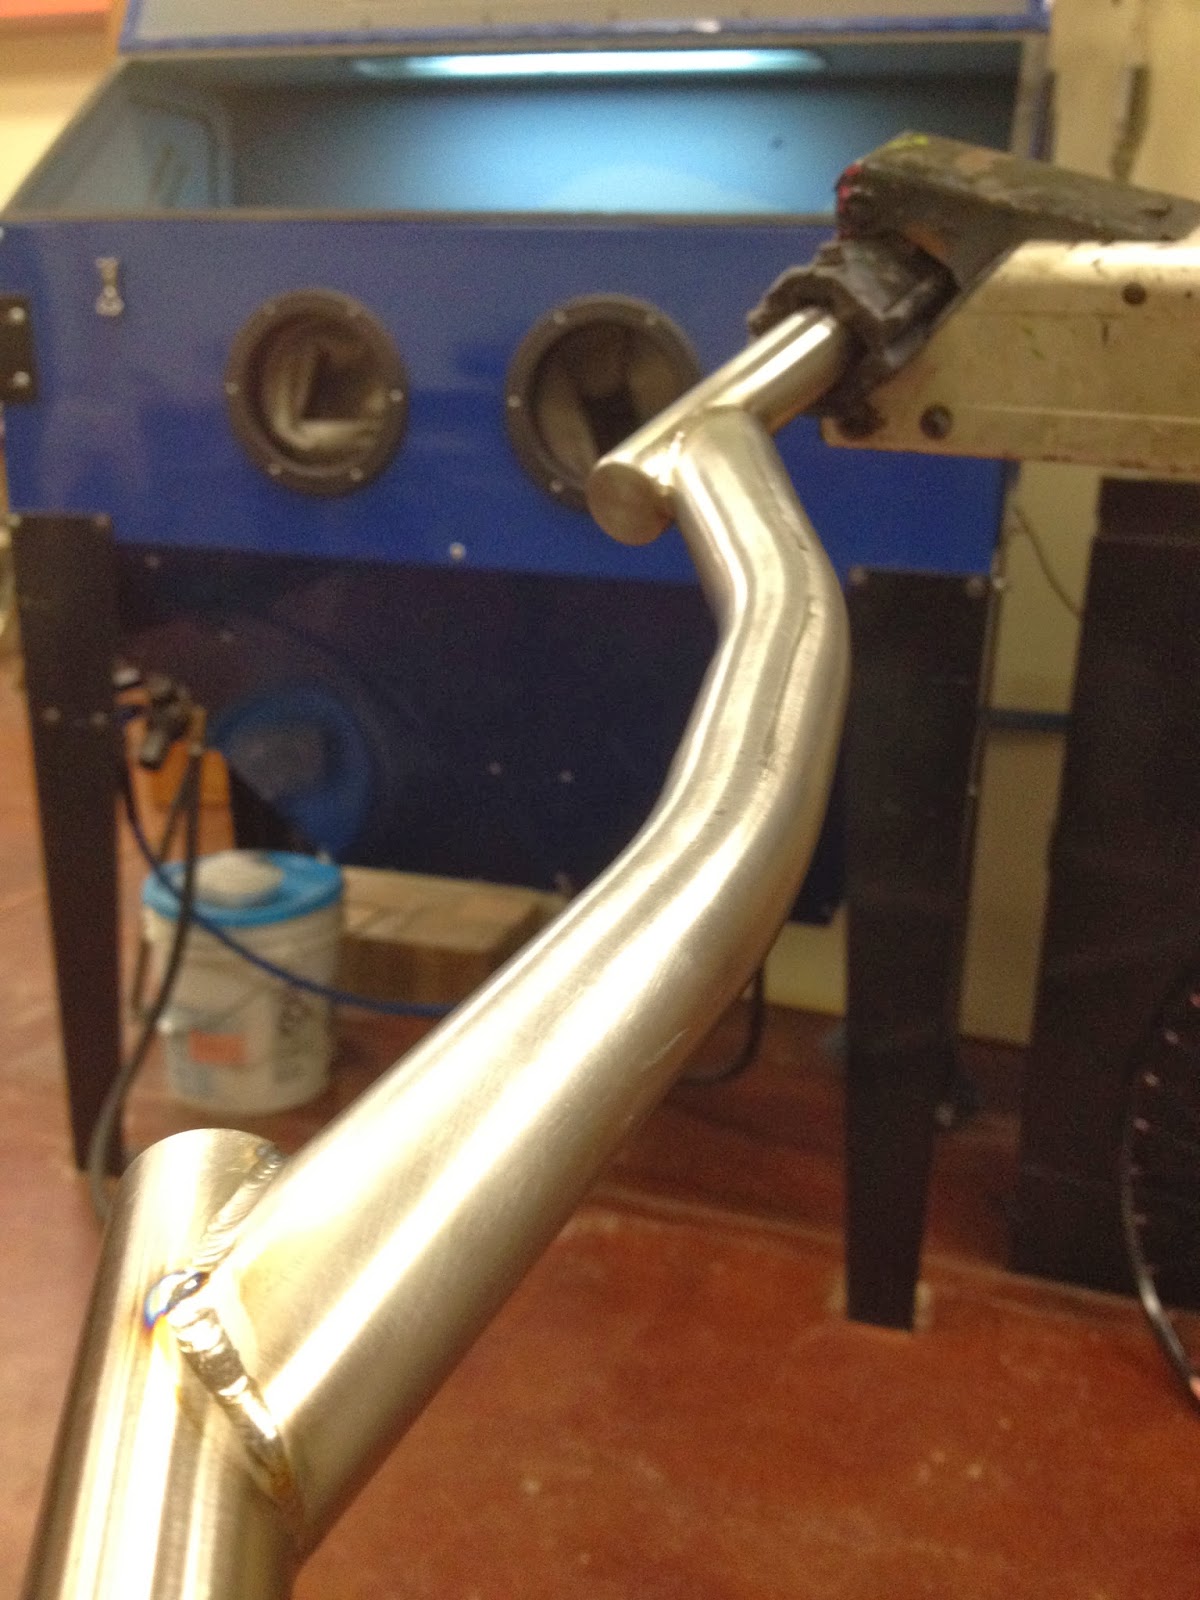
The bar is then removed from the weld table and taking over to blast prep, where I will use 120grit shop roll to shine up the area where the graphic will be applied, giving it a wipe with acetone when done to remove all particulate...
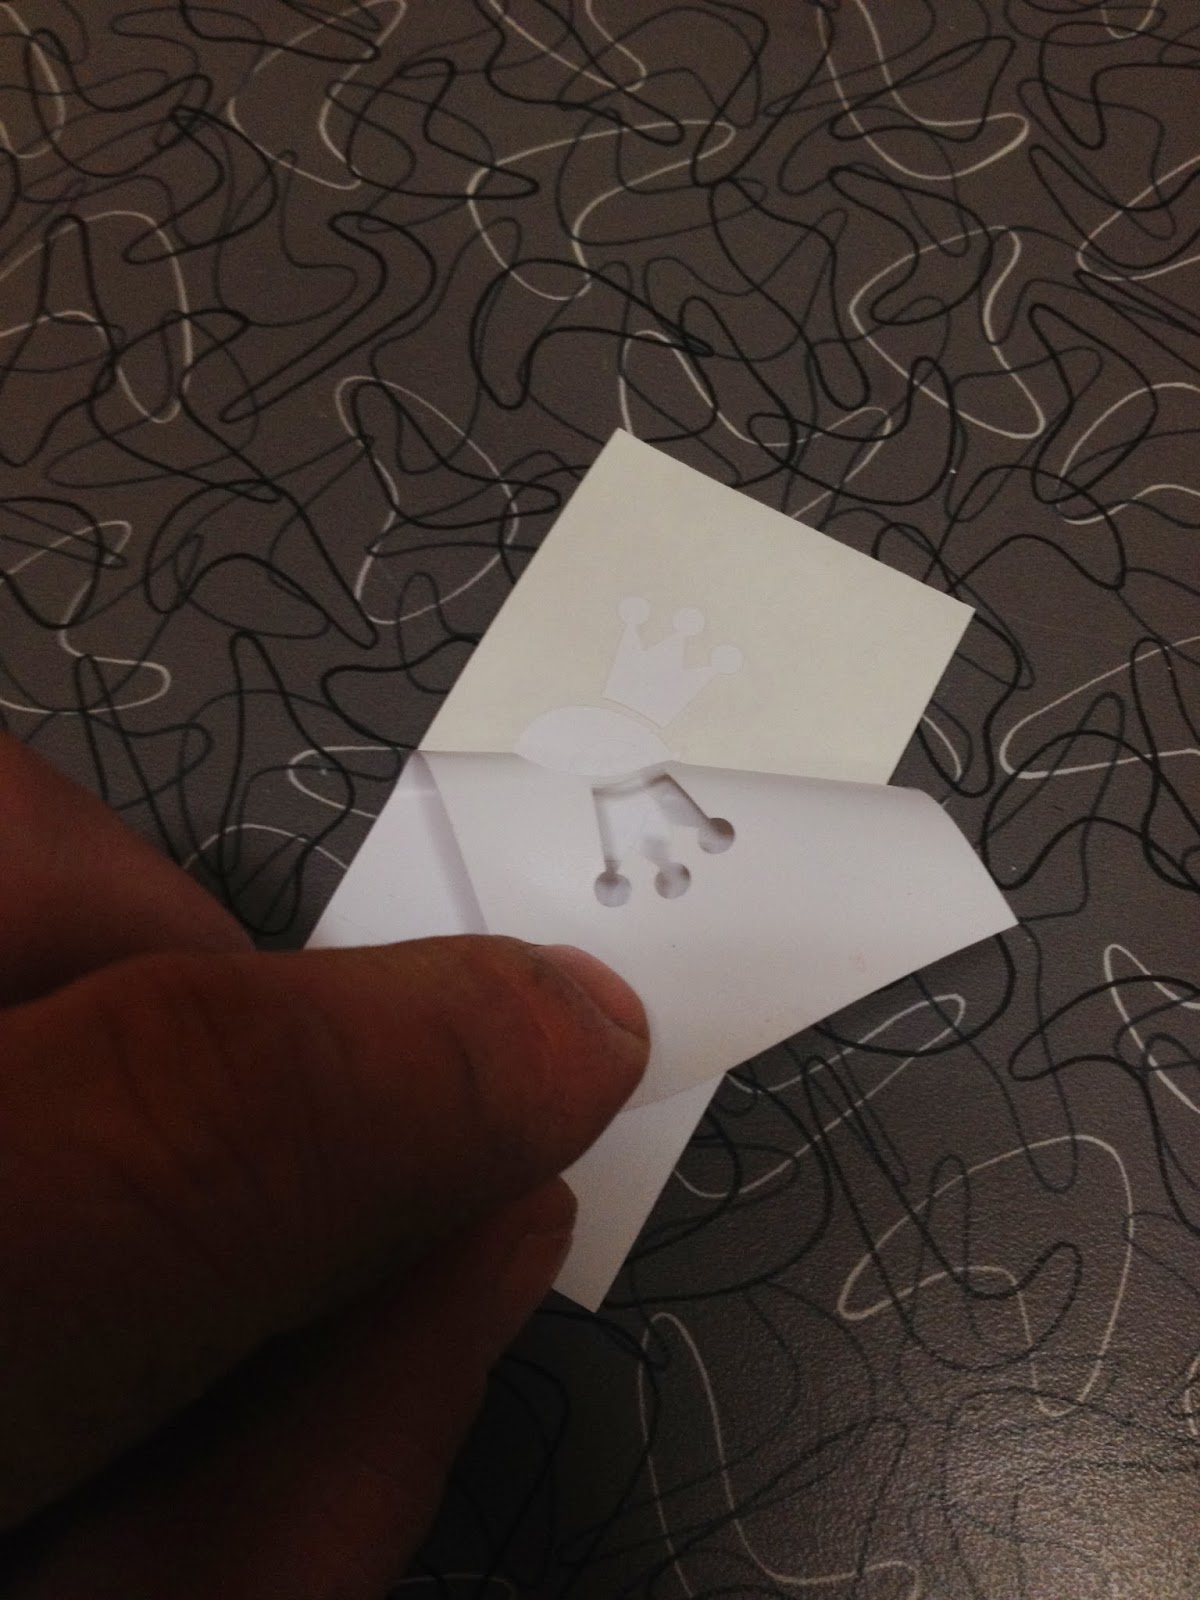
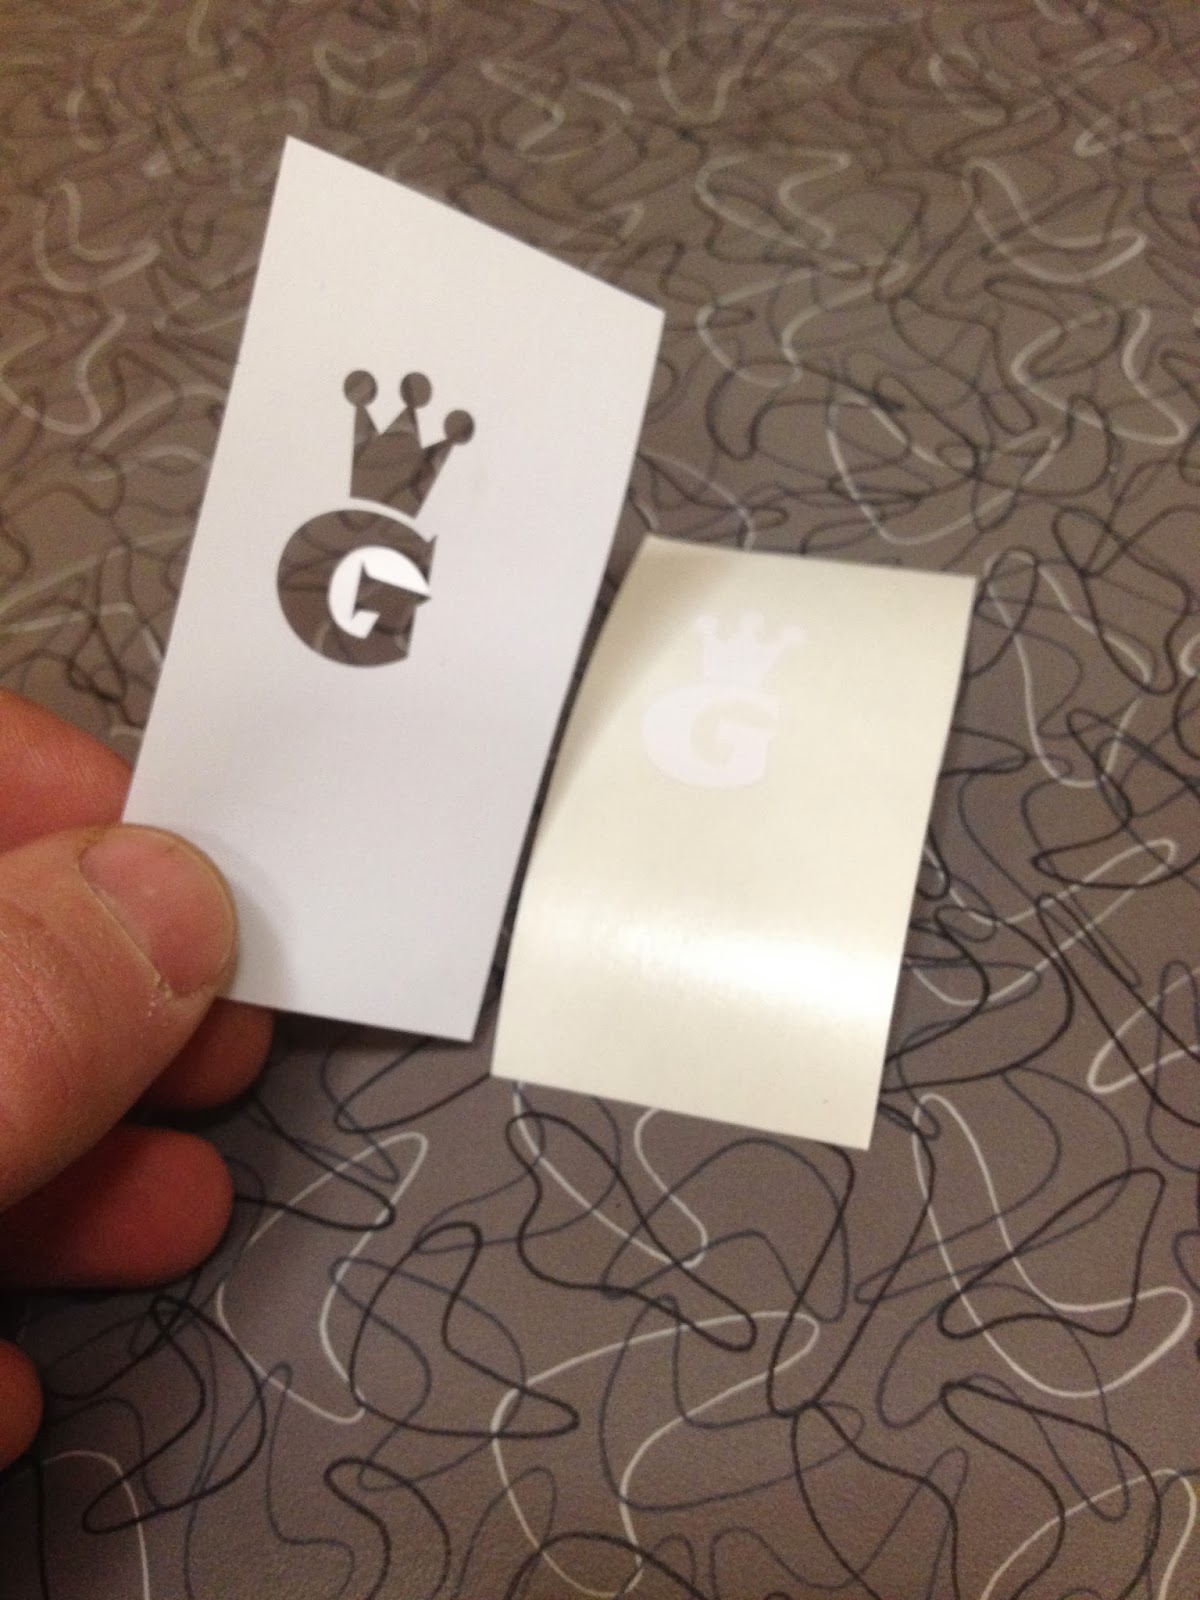
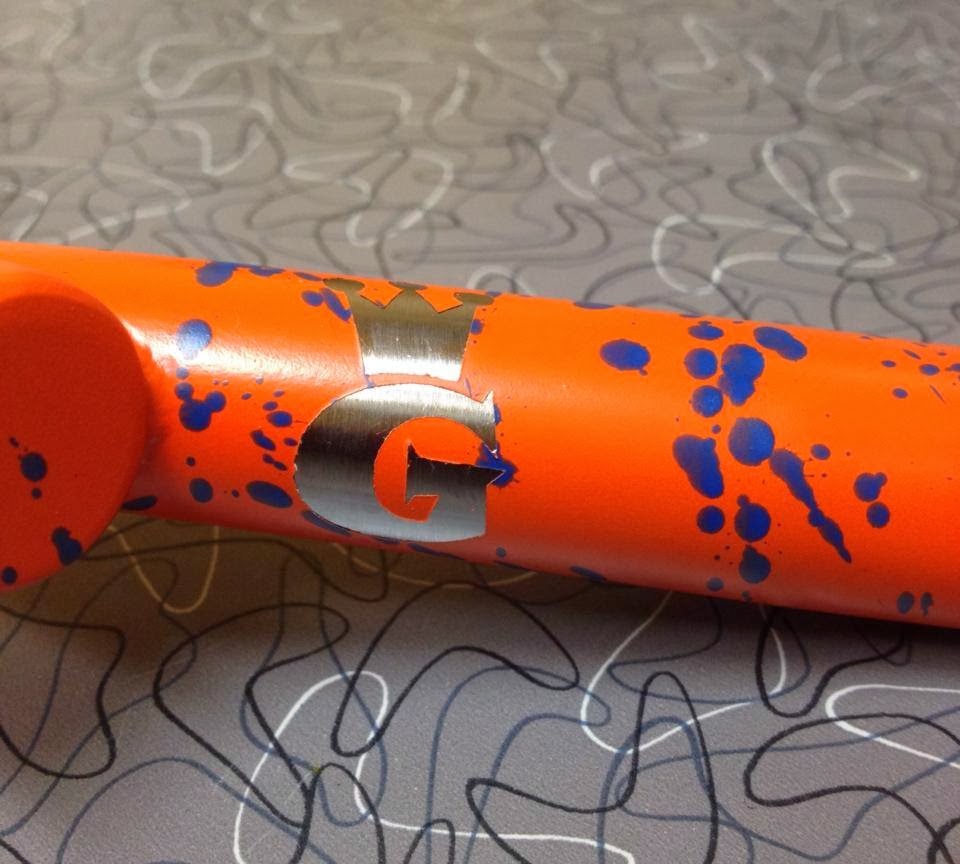
I then use my Graphtec cutter and Adobe Illustrator to create the graphic mask I wish to use, in this case the Groovy "g" with a crown. The mask is cut and the layers separated...
I will be using the negative mask for this application, meaning that I am laying down vinyl to preserve what will be underneath it, in this case, the polished titanium. The positive mask will be saved and used for future use when I need to shoot a contrasting color onto a base to create the graphic...
Transfer paper is applied and the negative mask placed on the bar...
To prepare the surface for coating, it must have an even, mechanical tooth. This is provided by blasting the bar with 120 grit aluminum oxide material, free of debris or other particles. Using a heavier grit material will create too much physical texture and will be palpable under the very thin ceramic coating.
Once blasted, the bar is blown off with filtered air and then cleaned with Acetone. As the bar has vent holes linking the pieces together to allow for argon flow, I've found it problematic to submerge the piece in a bath of solvent as product still gasses off during cure. So I've taken to simply using an acid brush and cup to gently clean the surface, insuring no residue remains...
The item is then placed in the bake box to gas off for 15 minutes at 200 degrees, insuring a clean, dry surface for ceramic application.
While that is cooking, I'll prep the ceramic. Cerakote is a two stage product; ceramic particles suspended in a tinted carrier and a catalyst hardener. The mix ratios can be varied to provide differing levels of matte to shiny finishes for the surface of the ceramic.
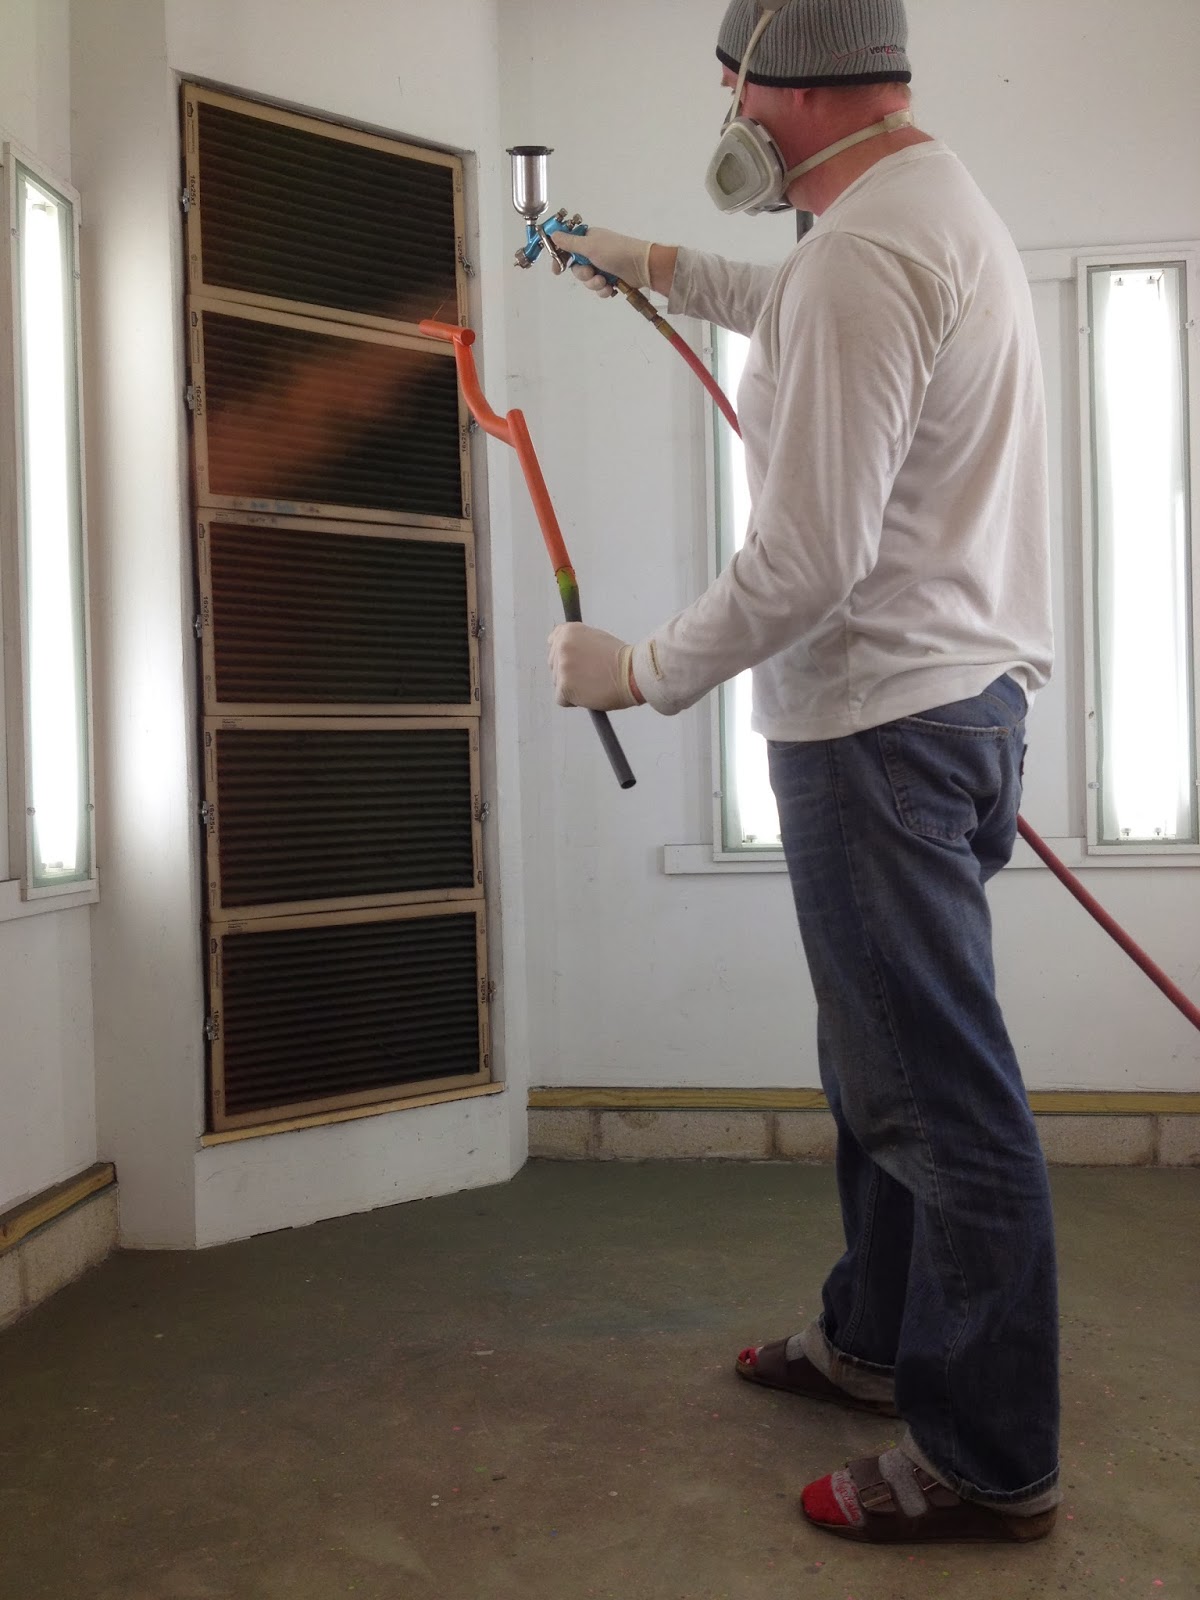
The bar is then taken into the paint booth and the ceramic applied with a HVLP gun with a minimum tip size of .8mm...any smaller and the ceramic particles will not pass through and will clog the nozzle. I use multiple even thin coats, separated by about 5 minutes to build until an opaque finish is achieved.
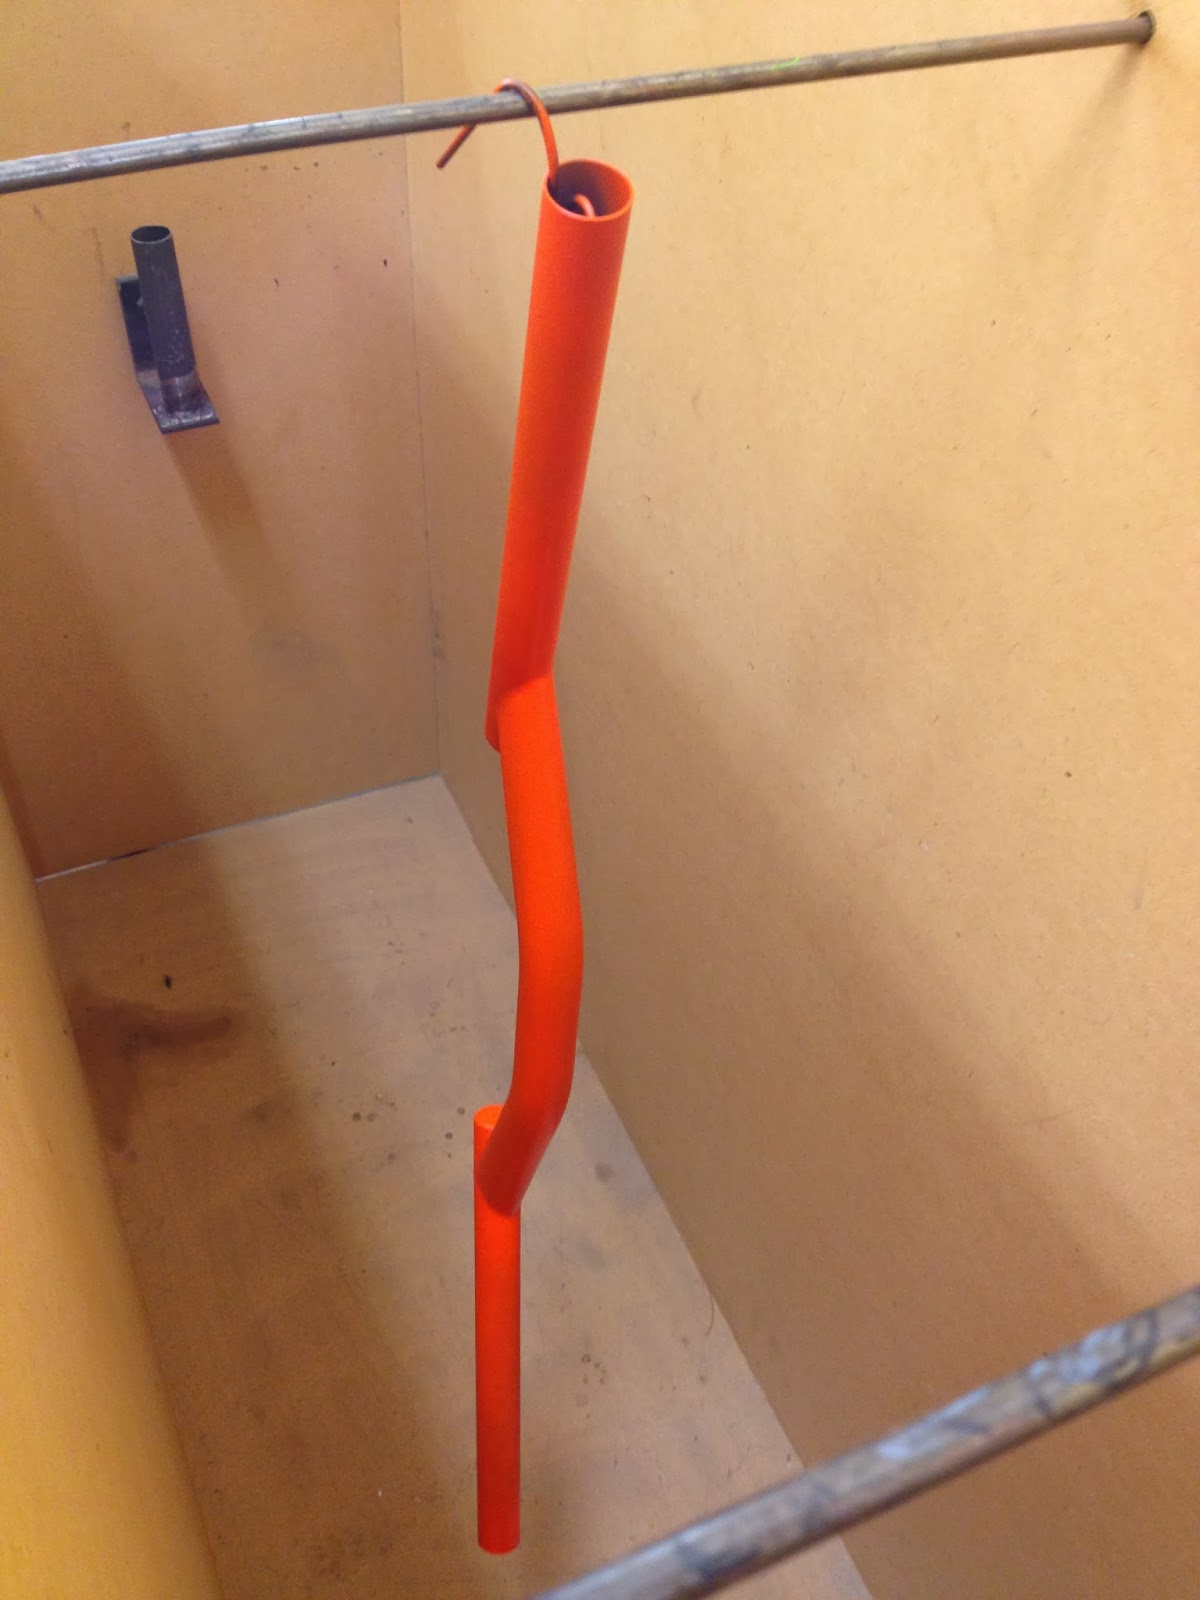
The item is then placed in the bake box to activate the hardener, temperature and time are dependent on many variables...will multiple layers be used, do graphic masks need to be placed or removed, surface area to be cured, etc...
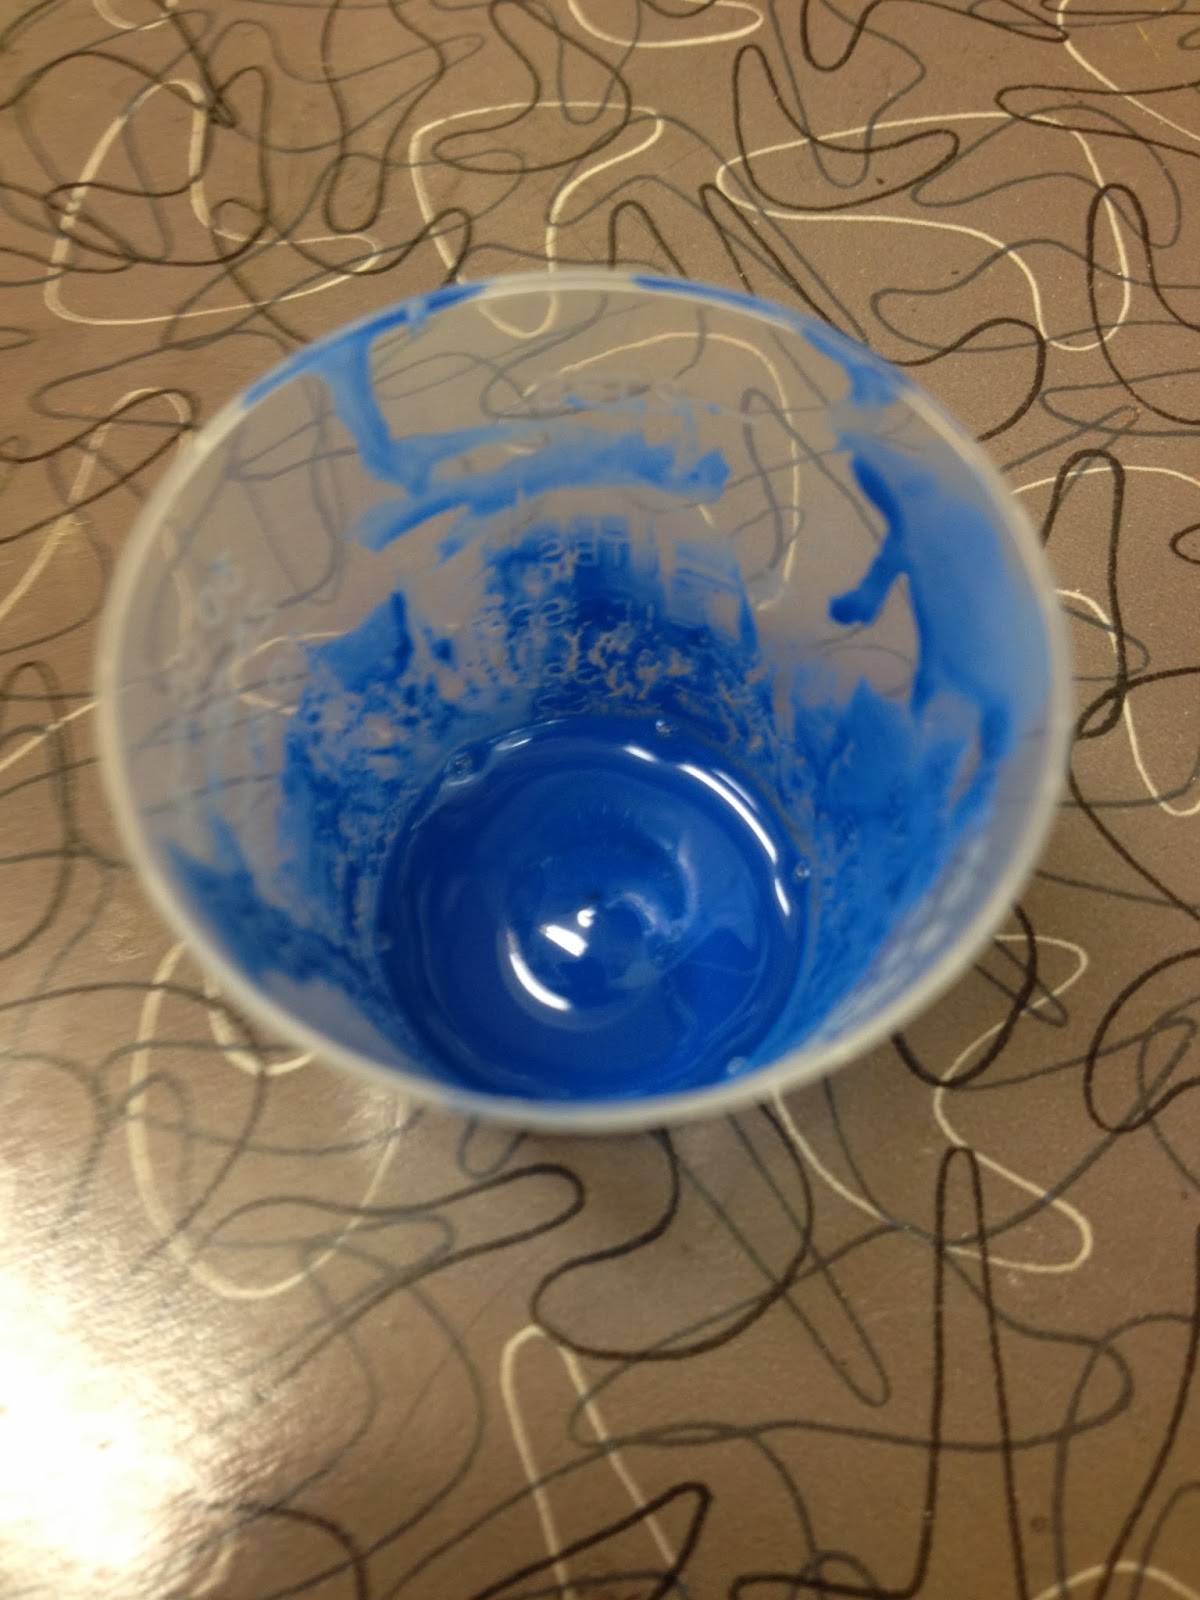
In this case, a blue splatter was requested, so after a short 15 minute partial cure, the bar is removed and the effect added...
After a full cure has been achieved, the bar is removed and is ready for use immediately. Ceramic bonds to the substrate tightly, so it is very durable, builds only a few thousandths, and is available in an ever expanding array of colors. Due to it's thin application, it is lighter than powder or liquid paint. Ceramic has earned a solid place for use in cycling related products.
As always, any questions, please let me know.
cheers,
Rody